Welcome to our guide on setting up your ZEISS DTI 6 thermal imaging device. Follow five easy steps to ensure you get the most out of your device.
First of all, let’s look a little closer at the technology at hand. Why do the right device settings enhance your viewing experience?
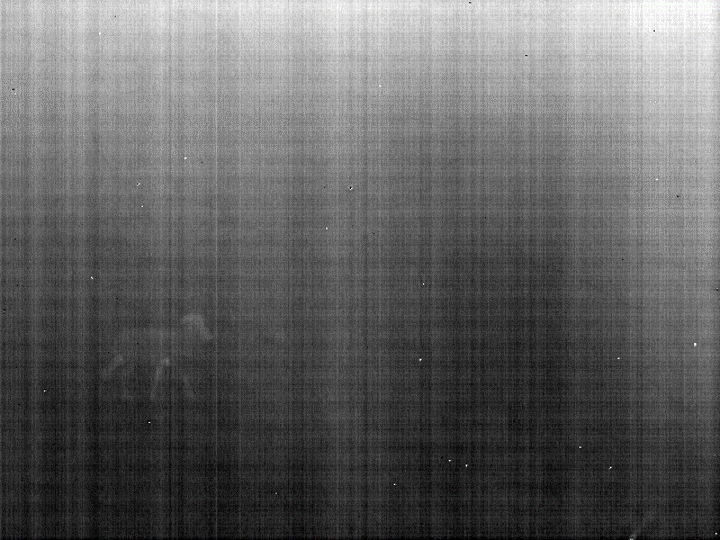
You can see a so-called “sensor raw image” to the left. This is what the thermal sensor or micro-bolometer captures without any image processing applied.
As you can see – you see nothing!
You may now comprehend why it is critical to understand how the image processing algorithm of your thermal device interprets the data to provide an outstanding image.
How do we improve the image quality of our thermal devices?
To create the best possible image quality of your thermal device, there are several steps that take place before the image is projected on the display for you to view. The pre-processing phase will eliminate any noise or any variations in pixel response across an imaging sensor. It will also correct for high temperature variations to present an “initial” image.
So, it is the “initial” image that I see when I look through my thermal device?
No, there are still two additional steps happening before the image is ready for viewing.
1. Contrast Enhancement
It is a crucial technique in image processing that improves the visibility and differentiation of features within an image.
2. Edge Sharpening
It enhances the clarity and definition of edges within an image. By emphasizing the boundaries between different regions, it makes features more distinct and easier to identify. But this will increase the noise in the image. ZEISS uses adaptive sharpening in warm image regions without noise amplification.
DTI 6 Setting Top Tips
What changes in the pre-sets can I do to further improve the viewing experience with the DTI 6?
Depending on your personal preferences as well as your hunting ground and the weather conditions, there are a couple of tricks you can use with your DTI 6.
1. Choosing the Right Observation Mode
Our Top Tip: For detecting animals at 300-600m while maintaining visibility of surroundings, use Fog Mode with a contrast setting of 7-9 and medium to high display brightness.
As you approach your target, switch to Universal Mode with increased contrast (9) and medium-high brightness. Lower the display brightness to reduce eye strain during your approach.
Use the high-contrast “Discover Mode” to easily spot heat sources but be aware it may obscure surroundings.
2. Contrast and Brightness
Adjust these settings in the menu to match the ambient lighting conditions. Higher contrast can help distinguish targets better.
Just keep in mind that every adjustment of either the contrast or the display brightness should be followed by adjusting the other. This will help you to improve the result you wish to achieve.
3. Take Advantage to the 10x Magnification
The scroll wheel with its zoom function can be used to super quickly get confirmation on the object you are observing. Start with a lower magnification to scan the area, then increase as needed. Always, manually adjust the focus ring to sharpen the image of your target.
4. Choosing the Best Viewing Mode
This is very much up to your personal preference. From our own experience we recommend to use “Red Hue” and “Night Eye” modes for a comfortable viewing experience.
5. Software up-to-date?
Ensure your device has the latest firmware by checking updates via the ZEISS Hunting App.
Now, enjoy using your ZEISS DTI 6 and share your most amazing images and videos on Instagram using #TestDTI6