This post is the second in a two-part series.
In the previous post, I have given you a quick overview of how we are using on-demand agents. Moreover, the first article only addresses the theoretical aspect of on-demand agents. In this article, I will discuss more about the underlying infrastructure, tooling, and most notably, the integration of Azure Pipelines.
Prerequisite
The following prerequisites are required for the successful and proper use of On-Demand Agents.
- A Kubernetes cluster.
- You should also have Kubectl installed with access to the Kubernetes cluster.
- Helm
- Azure DevOps Personal Access Token
- Basic understanding of YAML based Azure Pipelines.
Installation
- Create Agent Pool:
First, we need the Azure DevOps Agent Pool before continuing further with the installation. You can follow the instructions here.
- Add Helm Repository:
Make sure you have Helm installed as specified in the pre-requisite. Add On-demand agent chart repository to Helm:
- Create a Kubernetes Namespace:
It is not necessary to create a new namespace for the on-demand agents but its a good idea to separate on-demand agents from application resources.
ℹ️ For the Kubernetes namespace, I would suggest using the same name as the agent pool to have consistent naming.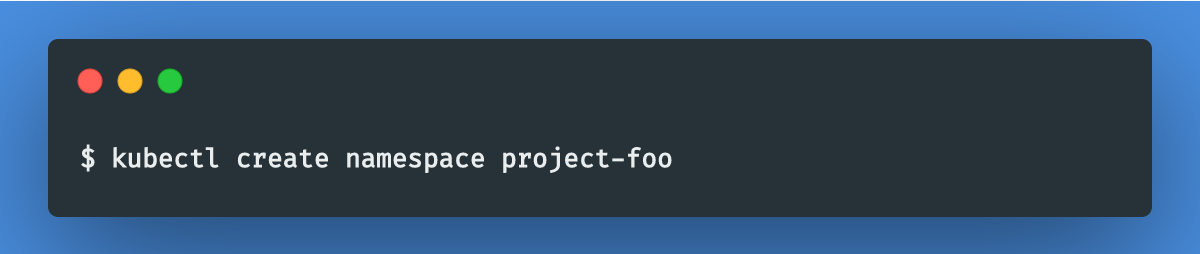
- Deploy Init Agents:
Make sure, you have already generated the Personal Access Token with (Read and Manage) access to Agent Pool.
Required values to deploy init agents:
1. azdoToken: Base64 encoded Personal Access token.
2. azdoUrl: Azure DevOps URL, usuallyhttps://dev.azure.com/<Your Organization>.
3. azdoPool: Name of Agent Pool.
4. replicas: Number of init agent, Default: 3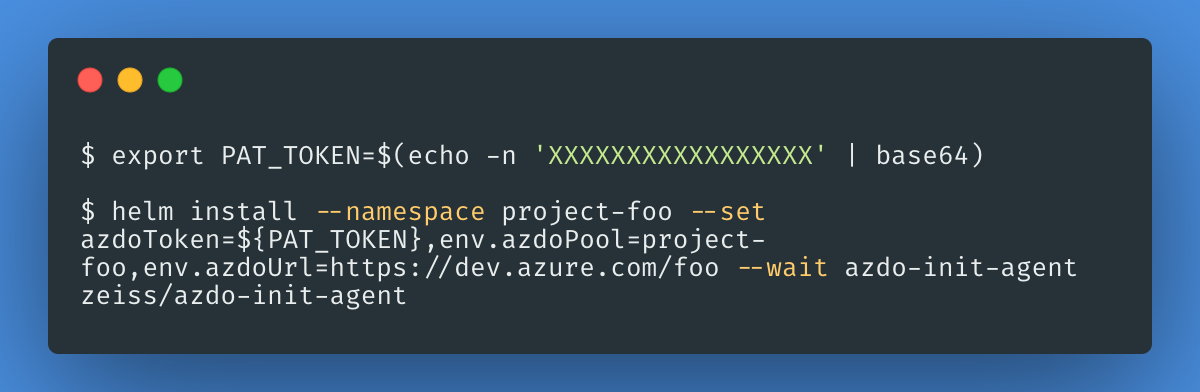
After successful helm installation, you should see 3 init agents in newly created Agent Pool:
If you check the system capabilities for any of the init agents, you will notice thecategory=initand that’s basically the selector for the init agents. This can be done by specifying the demands, as shown below: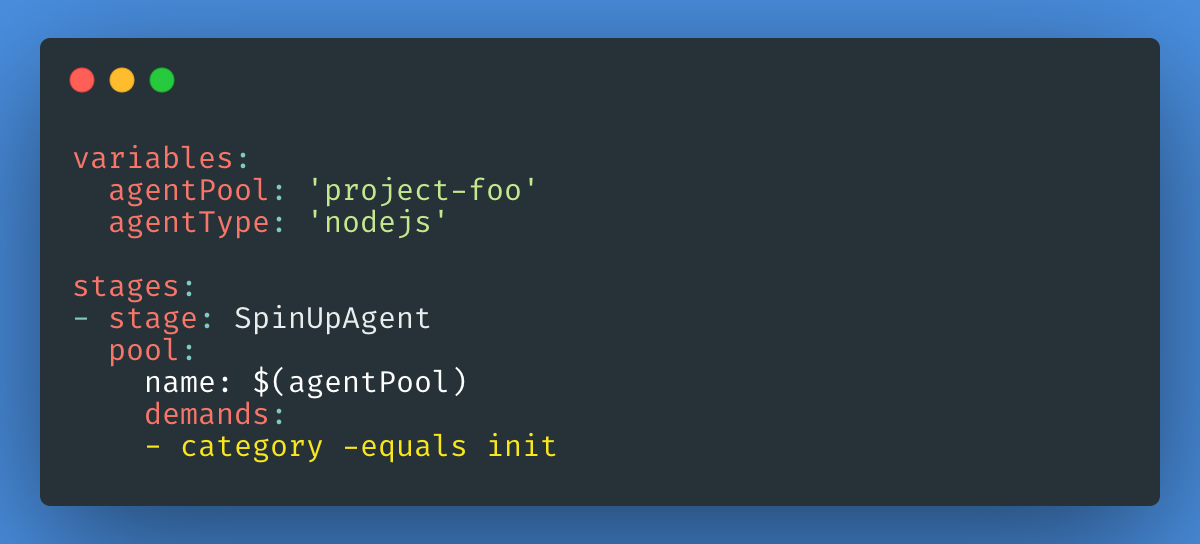
ℹ️ By the way, we are adding this capability from the init-agent docker image.
You can find more configuration parameters and details about zeiss/azdo-init-agent chart here.
- Integration with Azure Pipelines:
So now we’ve built our underlying Kubernetes infrastructure and the tooling needed. Now it’s time to integrate it with Azure Pipelines (Build or Release).
As already discussed in the previous post, basically we need to split our Azure Pipeline(Build or Release jobs) into 3 phases:
1. Spin Up Agent:❗ Runs on init-agent
As the name suggests, we need to Spin up an agent (Kubernetes Pod) in this stage which will be used for our pipeline.
We will create an agent usinghelm install. You may also usekubectl, as we are simply creating Kubernetes pod under the hood:
As you can see here, we use zeiss/azdo-demand-agent to spin up an Agent. Few important parameters to consider while runninghelm install:
– It’s important to create an agent with a unique name, this can be achieved using Azure DevOps Predefined VariableBuild.BuildId. We are using$(agentType)-$(Build.BuildId)as helm release name, which is passed as the name of a Kubernetes Pod.
– Make sure, you are using a wait flag which makes helm to wait until Agent(Pod) created and connected to Azure DevOps. This is done by using a readiness probe.
– agent.type: Type of agent, which is nothing but the Docker image tag. Default image repositorycizi/azdo-demand-agent.
For instance, with typenodejs, container image path would be: cizi/azdo-demand-agent:nodejs
2. Build or Release:❗ Runs on demand-agent
This is our actual build or release stage. You can configure your own steps or task required for the build and release as you do normally.
It is very important to pick the agent which was created earlier during the SpinUp Agent phase. To achieve that, we can use the agent name as a demand: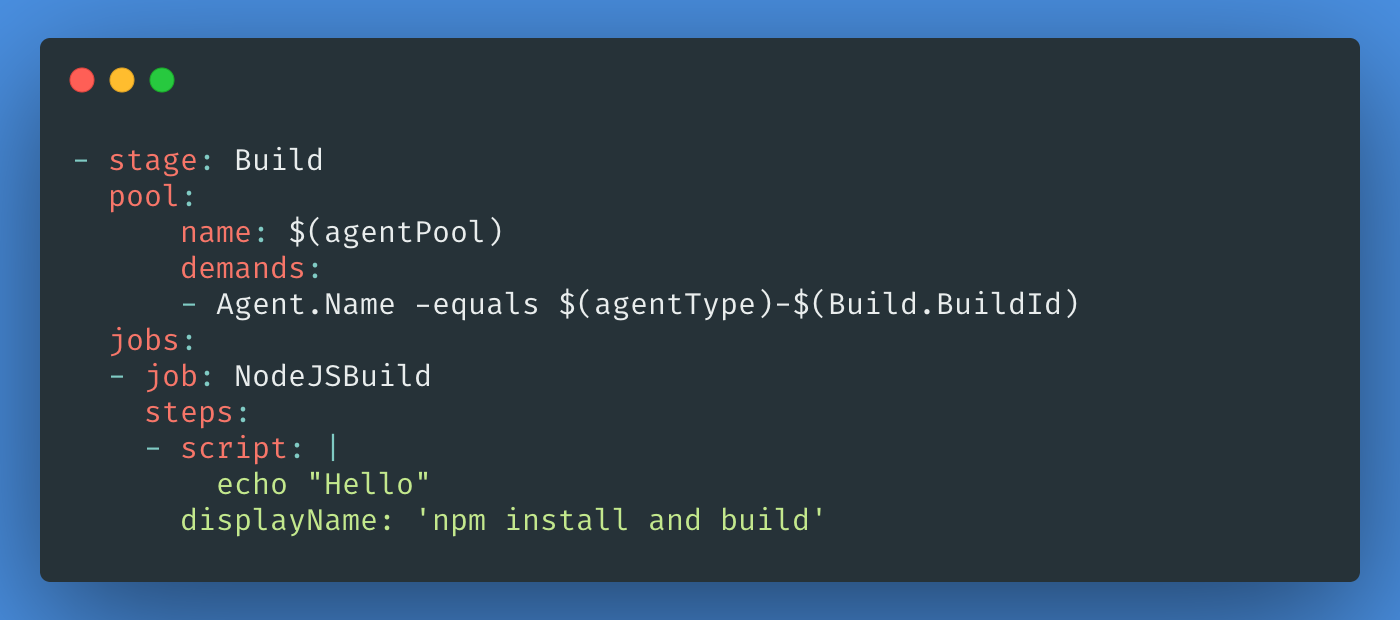
3. Delete Agent:❗ Runs on init-agent
When pipeline reaches this stage or job that means either we’re finished with our build/release or it wasn’t successful or canceled, but nevertheless we need to kick out the agent we’ve used.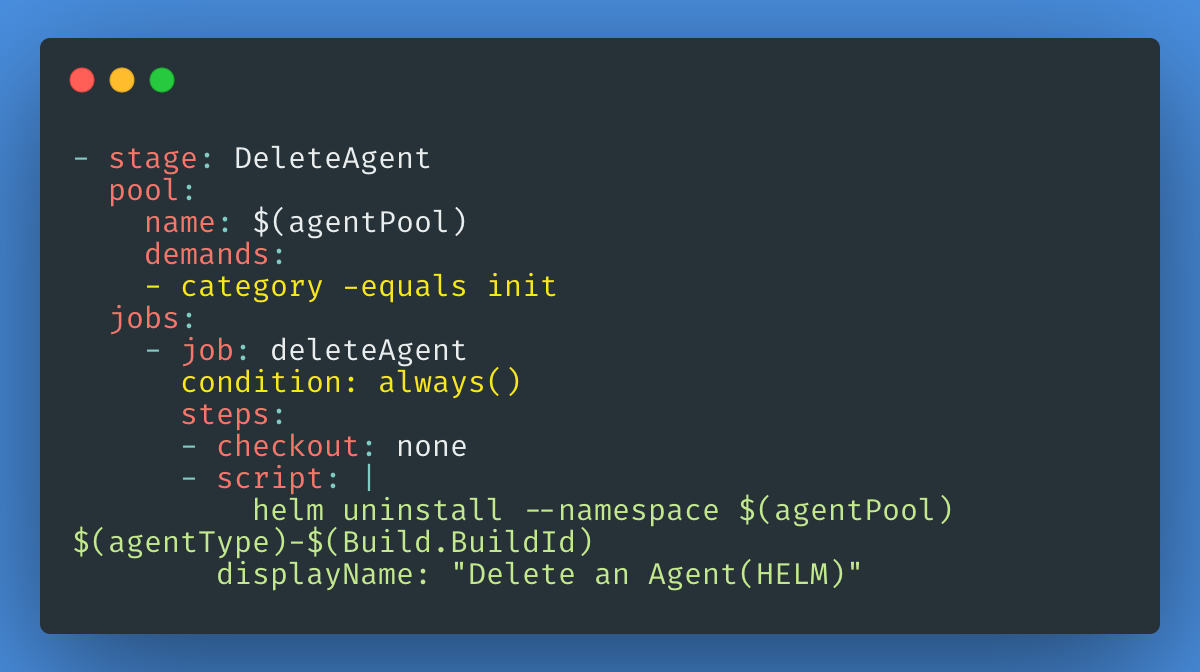
As you can see here, we have just uninstalled the helm release which was created as part of SpinUp Agent.
It’s necessary to havecondition: always(), as we need to make sure we delete the agent:
If Build/Release:
1. Completed successfully.
2. Completed with failures.
3. Is canceled.
That is it, then! So does your Azure Pipeline UI look like this: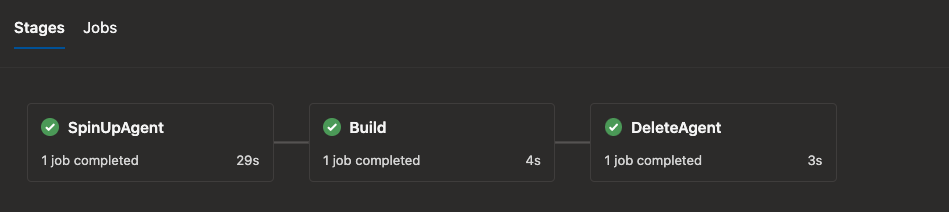
Refer to the full example of this Azure Pipeline.
Conclusion
In this article, you installed On-Demand Agents in your Kubernetes cluster and integrated it with the Azure Pipelines.
Now that you understand how On-Demand Agents works, you can add it easily in your existing Azure Pipelines. Check out the Github repository to learn more about the Docker images, Helm Chart. To learn more about using Azure Pipelines in general, see the official Azure Pipeline documentation.
How can we complete this setup on aws EKS and i am using azure repos as code repository.