After having a deeper look into the project environment and the basic anatomy of an Angular-CLI-Electron project in the last article we now want to build a simple application using the Node.js as well as the Electron API to get a deeper insight into the possibilities of such an app and to gain more familiarity with the environment. Our example will be a basic file explorer which can browse through the directories of our file system and open files in their associated default program. It should also provide a keyboard shortcut to move up in the file tree.
You can find the sample project of this article in the electron-explorer GitHub Repo. If you want to have a look at a bigger sample project, you could use Electron-Microscope.
Setting up the project
Commit: 7ecab6c
To set up the project you can either follow the steps in the last article or you use the angular-2-electron-seed project. For the purpose of this article I will do the latter. So after cloning the seed with
git clone git@github.com:DevWurm/angular-2-electron-seed.git ./electron-explorerwe change into the project directory (electron-explorer) and open the package.json where we adapt the name field to match our project name electron-explorer. After this we have to run
npm installto install the required dependencies.
Building the application
After setting up the project we can run npm run start to have a look at the current state.
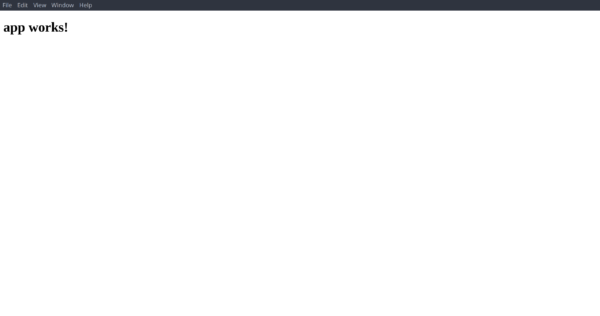
We can see the default app of the Angular-CLI inside of Electron.
Creating the file list
Commit: 7675758
To build a simple file list view we just need a component which displays a list of all files in the current directory. All directory entries are displayed as links, which change the currently displayed directory or open the selected file. For the purpose of simplicity we store the currently active directory in the component itself. We fetch all available files in the active directory via the Node.js core module fs and display the entries via NgFor.
So let’s start with creating the component. To do so, change into the directory src/app and create a new component via the scaffolding command of the Angular-CLI by running
ng generate component filesThis creates a new component called FilesComponent which is bound to the HTML tag <app-files></app-files>. The generated component already contains a basic component class in the file src/app/files/files.component.ts, decorated with the correctly configured @Component decorator. To implement our component we have to include the necessary file system functions from the Node.js core module fs and some other functions from the Node core via
    import { readdir, stat } from 'fs';
    import { resolve } from 'path';
    [...]
After this we implement our properties for storing the current directory, as well as all file system elements in this directory. These properties are always updated in sync via the changeDir method when the user clicks on a directory entry. When a regular file is clicked we want to open it in the systems default application, rather than changing the directory. This can be implemented the following way:
    [...]
    @Component({
      selector: 'app-files',
      templateUrl: './files.component.html',
      styleUrls: ['./files.component.css']
    })
    export class FilesComponent implements OnInit {
      private currentPath: string = process.cwd();
      private entries: Array<string>;
      constructor() {
        this.updateEntries();
      }
      ngOnInit() {}
      private updateEntries() {
        readdir(this.currentPath, (err: Error, files: [string]) => {
          if (err) {
            console.error(err);
          }
          this.entries = ['../'].concat(files);
        });
      }
      private changeDir(newDir: string) {
        const targetPath = resolve(this.currentPath, newDir);
        stat(targetPath, (err, stats) => {
          if (err) {
            console.error(err);
          }
          if (stats.isFile()) {
            this.openFile(targetPath);
          } else if (stats.isDirectory()) {
            this.currentPath = targetPath;
            this.updateEntries();
          } else {
            console.error(new Error(`Unknown file system object: ${targetPath}`));
          }
        });
      }
      private openFile(path: string) {
        // TODO: Implement file opening
        return
      }
    }
To represent these information in our view we list all the file system entries via NgFor and handle the user interaction via a click binding by inserting the following into src/app/files/files.component.html:
    <ul *ngFor="let entry of entries">
      <li><a (click)="changeDir(entry)">{{entry}}</a></li>
    </ul>
During development you can live-test and debug your app by running npm run start and you can create unit tests by adding test cases in the <component>.spec.ts file of your component and run them via npm run test.
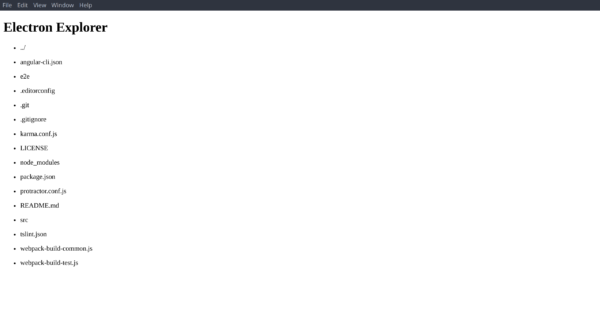
After adding the directive to the main view (it is added to the module automatically by the CLI), by inserting
<app-files></app-files>at the end of src/app.component.html and setting the correct application title in src/app.component.ts we can have a first look at our file list.
Opening files
Commit: b93f98f
If the user clicks on a file, we want to open the file in the default program associated with the file type on the users system. Fortunately Electron provides this feature out of the box with the function shell.openItem.
Lets include the shell object by adding
import { shell } from 'electron';to the top of src/app/files/files.component.ts and implement our openFile method by using the provided helper function:
[...]
private openFile(path: string) {
shell.openItem(path);
}
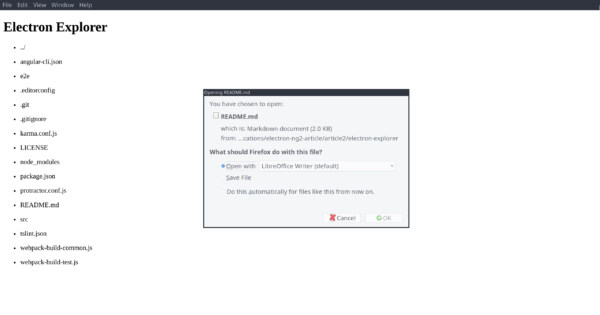
[...]When clicking on a file entry in our file list our app now opens it in the associated default application or prompts for action.
Using keyboard shortcuts
Commit: 61b0735
Implementing keyboard shortcuts is a bit harder because of Electrons architecture. Electron allows the registration of keyboard shortcuts in the MainProcess only, while our application gets executed in a RendererProcess. Because we want to handle the keyboard shortcuts in our application we have to use Inter-process communication (IPC) to communicate between the MainProcess and a RendererProcess. Fortunately Electron provides an easy event-based IPC mechanism to achieve this. In the Electron IPC mechanism the MainProcess doesn’t know how to send information to a RendererProcess until it gets a reference to corresponding IPC endpoint through an incoming message. Therefor our application has to request the keyboard shortcut in the RendererProcess using ipcRenderer.send:
    import { [...], ipcRenderer } from 'electron';
    [...]
    class FilesComponent implements OnInit {
      [...]
      ngOnInit() {
        ipcRenderer.send("request-keyboard-shortcut", "Backspace");
      }
      [...]
    }
Our files component now sends a message to our MainProcess containing the desired keyboard shortcut. Our MainProcess now listens for the request-keyboard-shortcut message, subscribes to the provided shortcut via globalShortcut.register and notifies our component via event.sender.send. To implement this behavior, we edit src/entry.js:
    const {[...], ipcMain, globalShortcut} = require('electron')
    [...]
    ipcMain.on('request-keyboard-shortcut', (event, shortcut) => {
      globalShortcut.register(shortcut, () => {
        event.sender.send(`keyboard-shortcut-${shortcut}`);
      });
    })
    [...]
Make sure to make the corresponding changes in src/entry.live.js to enable the feature when running your app with npm run start, too. Now we can listen for the corresponding keyboard-shortcut-Backspace event in our component and move upwards in the file tree:
    [...]
    class FilesComponent implements OnInit {
      [...]
      ngOnInit() {
        [...]
        ipcRenderer.on('keyboard-shortcut-Backspace', () => {
            this.changeDir('..');
        })
      }
      [...]
    }
Now our app reacts to key presses on Backspace and moves to the parent directory. Great!
With only little code we created our own small file explorer which already integrates itself into the surrounding system and there are a lot more APIs we could use to achieve more system integration and features!
As we have seen Electron can be a great tool to develop full-featured desktop applications especially when combined with a modern GUI application framework like Angular 2.