A wide variety of test automation tools for various fields of application is available on the market today. One of our clients in the medical engineering industry, for example, has regularly used the tool “Squish” for the automation of GUI tests. That is why in this blog post, I would like to take a closer look at the technical and functional aspects to be observed in the design of test frameworks and test scripts. The second part of this blog post series will provide additional information on this topic.
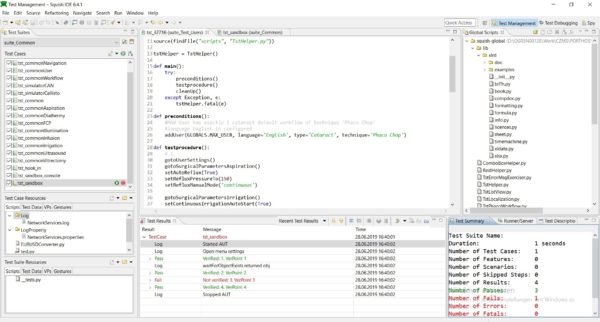
With “Squish”, a GUI test automation tool produced by the software company Froglogic in Hamburg, the entire test code and everything that goes with it is written and managed using one of five programming or script languages that are commonly used today. You can choose among Ruby, JavaScript, Tcl, Perl, and Python. As Python represents the state of the art and has a vast range of functions that can be increased even more with numerous freely available libs, but most importantly because of the exceptional readability of the test scripts written in this language, Python should be the language of choice. The default language of Squish is Python 2.7.XX, but upon request, Froglogic also provides an edition of Squish with the requested Python version (e.g. Python 3.5.XX) for download. If you absolutely prefer Python 3, you are welcome to use this option, but the default Python 2.7 included in the delivery will serve you perfectly well.
Irrespective of the script language you choose, Squish generally provides two approaches for dealing with an AUT (“application under test”) in the test execution. Either Squish implicitly starts and stops the AUT for each test case, or you connect to a running AUT for each test case. As most software applications are not continually stopped and restarted in practice, the second approach is closer to real-life behavior and should therefore definitely be preferred to the first approach.
In the world of Squish, this approach is also called “attachable AUT”. However, Froglogic only provides some of the test script functions required to control an “attachable AUT”, and you have to implement them yourself.
Over the years, “TstHelper” has been tried and tested by our client. As the name implies, this is a servant for test execution which implements a mechanism to handle the “attachable AUT” approach, among others. In order to minimize redundant test code in a test script, the entire mechanism was integrated into the constructor. Thus, a single line instantiating an object of the “TstHelper” class at the beginning of a test script is sufficient—more about this in the second post.
In principle, the mechanism consists of a single “try…except” block:
    try:
         attachToApplication()
    except RuntimeError:
         AppUnderTest.start()
The Squish function “attachToApplication” throws a “RuntimeError” if and only if a connection is to be established to an AUT that has not yet been started. In that case, the static function AppUnderTest.start() is called up, which—as the name implies—starts the AUT. You have to implement both the class and the function yourself. The name “AppUndertest” should be replaced by the name of the application that is actually going to be tested. This name also constitutes the name of the namespace that provides the start() function.
Python does not have its own notation for namespaces, which is why namespaces are realized by means of classes. In simplified terms, the class structure should look like this:
    class AppUnderTest:

        @staticmethod
        def start():
             os.system("{BatchSkript}")

        @staticmethod
        def stop():
             ToplevelWindow.byName("{MainWindowObjID}", 10).close()
With the “attachable AUT” approach, the AUT runs in a process separate from Squish. It is therefore started by way of an external batch script that has to be written once. The script call is then integrated into the start() function using the Python command “os.system” (see above).
To stop the AUT, Squish provides the function “ToplevelWindow.byName(“{MainWindowObjID}”, 10).close()”. The parameter “MainWindowObjID” represents the object ID of the top element in the hierarchy from the object map. The function call is encapsulated in the static function stop(). Consequently, the call in the test script has to be preceded by the class name as well: AppUnderTest.stop(). This syntax was chosen on purpose because of its good and clear readability. All functions attached to the AUT should be summarized into this class or this namespace. Other functions, e.g. to return the AUT to its original state, wait for or react to specific system events, or encapsulate the “attachToApplication()” call, can be added, possibly to add logging.
The organization into namespaces is also ideal for integrating additional test tools that are to be controlled from a test script. For each test tool, a separate Python class is created according to the pattern described above. The call to start and stop the test tool is to be integrated into the start() and stop() methods. This method list can be extended as required, e.g. to include functions to secure the logfiles, etc. In the test script, they are called analogously by means of “Testtool.start()” and “Testtool.saveLogfilesTo()”. Obviously, the class name has to be replaced by the name of the test tool. The resulting syntax will be something like “CanSimuator.start()”, which improves readability and facilitates the review of the test scripts. Read more about this topic in the second blog post.